Password Protecting Documents and How to Send Them
Techical Services / Cyber Security and Information Governance / Information Governance / Staff Guidance / Password Protecting Documents and How to Send Them
Password Protecting Documents and How to Send Them
It is often necessary to send documents in an encrypted format (password protected), here we offer guidance on how to create a password protected document, and offer advice on how to send these documents to others.
Password protecting an Office document
First, save a copy of the document you wish to password protect, if you password protect a document and then forget the password you will not be able to access the document.
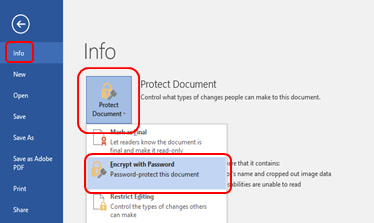
From your document, in either Word, Excel, Powerpoint or Access, Select File
![]()
From the next screen select Info, then Protect Document and then Encrypt with Password
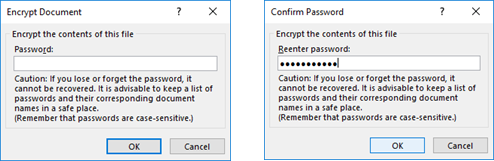
A password box will appear, enter a strong password (more the 8 characters, containing, lower and upper case letters, numbers and special characters) then click OK. Enter the password again and click OK.
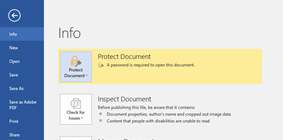
You will now see the document is password protected
How to open a password protected Office document
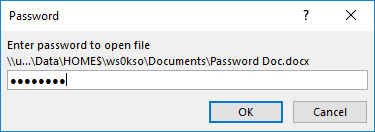
When you try to open a password protected document, you will be prompted immediately for a password, enter the password and click OK and the document will open.
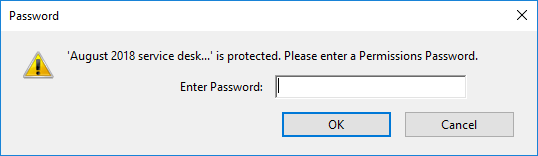
If you enter the password incorrectly you will see the warning below.

How to password protect a PDF document
First, save a copy of the document you wish to password protect, if you password protect a document and then forget the password you will not be able to access the document.
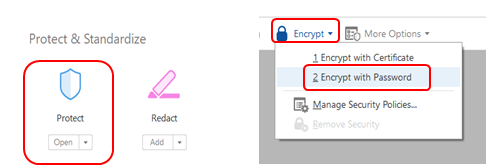
From your document, select the tools tab and then Protect, From the Encrypt dropdown menu select Encrpyt with password.
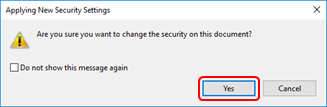
You will be asked to confirm that you want to change the security settings, click Yes
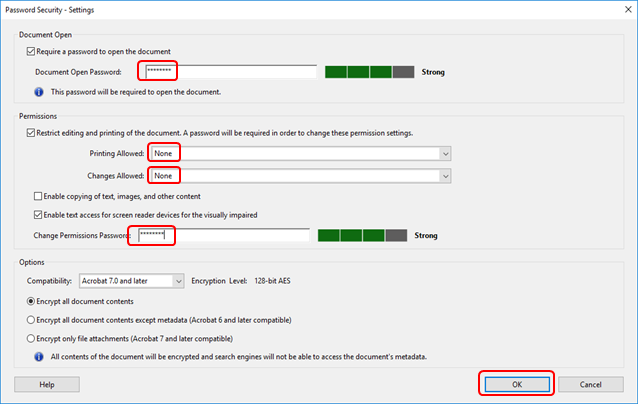
Within Adobe not only can you password protect the file you can also restrict what the recipient can do with the file.
In the first section, you can simply add a password to protect the file; in the second section, you can add a further password (which must be different to the first) to restrict the editing and printing of the document. Once you have made your choices, click OK
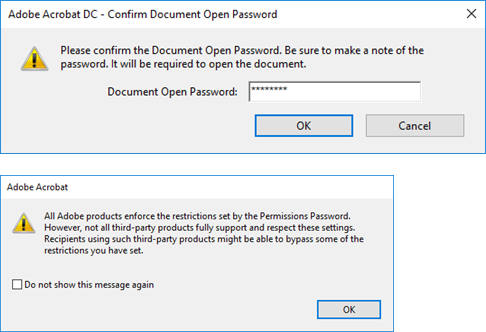
You will then be asked to confirm the password you have added to open the document, enter the password and click OK, the system will then advise of some restrcitions, Click OK.
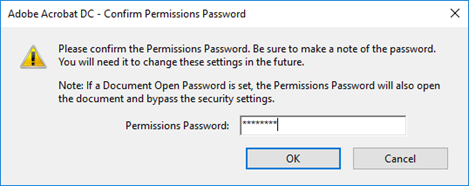
If you have chosen to restrict printing and editing you will be asked to confirm this password, enter the password and click OK.
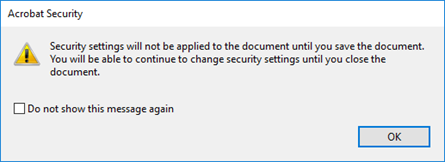
These settings will not take effect until you save the document, click OK to continue and then save the document.
How to open a password protected PDF document
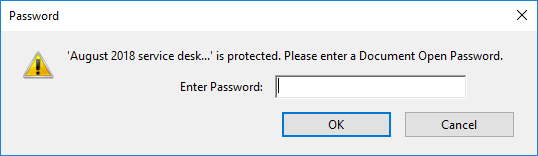
Once you have saved the PDF, anyone who wants to open the document will need to enter a password. Enter the password and click OK.
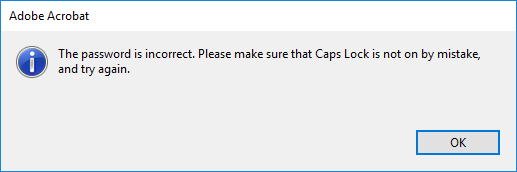
If the password is incorrect, they will be prompted to try again, but the document will not open.
If you have restricted Printing of the document, you will notice that the print option is greyed out and you are unable to print.

If you have also restricted editing you will need to provide the password to enable editing.
How to send passwords safely
Having password protected your document, you then need to provide the password to unlock the document. Please do not email or Skype the password to the recipient. You should seek an alternative means to send the password, this can be one of the following:
- In person - provide the password verbally to the recipient
- Telephone call - call the recipient and provide the password
- SMS - provide the password in a text message